Microwave Magic: Dry Parsley in Minutes for Fresh Flavor
Fresh parsley is a culinary hero, a vibrant burst of green that elevates everything from soups and stews to roasted vegetables and garnishes. However, anyone who has purchased a fresh bunch knows the struggle: use it quickly, or watch it wilt into a sad, forgotten heap in the refrigerator. This common kitchen dilemma often leads to food waste, a problem easily solved with a little "microwave magic." If you've ever wondered
how to dry parsley in the microwave, prepare to discover a remarkably fast and efficient method that preserves this beloved herb's color, aroma, and distinctive flavor for months.
Drying parsley at home isn't just about preventing waste; it's about unlocking a year-round supply of homegrown flavor, ready at a moment's notice. While traditional methods like air drying or using a dehydrator can be effective, they often demand significant time and patience. The microwave offers a modern, accelerated alternative, transforming fresh sprigs into crinkly, aromatic dried flakes in mere minutes. This guide will walk you through everything you need to know, from selecting the best parsley to perfecting the drying process and storing your flavorful results.
Why Microwave Drying is the Ultimate Parsley Preservation Method
When it comes to preserving fresh herbs, you have several options, but none rival the speed and convenience of the microwave, especially for small batches of delicate greens like parsley. Let's compare the methods:
*
Dehydrators: These dedicated appliances do a fantastic job, but they can take anywhere from 2 to 4 hours to fully dry herbs. While consistent, they require an initial investment and counter space.
*
Air Drying: The classic method involves hanging bunches in a cool, dry place. This is cost-effective but agonizingly slow, often taking 2 days or even longer, depending on humidity and quantity. It also leaves herbs exposed to dust.
*
Oven Drying: Using a conventional oven at its lowest setting can work, but it's a slow process (several hours), can be energy-intensive, and carries a higher risk of over-drying or even burning if not closely monitored.
*
Microwave Drying: This is where the microwave truly shines. In just a few minutes – often less than 5 – you can achieve perfectly dried parsley. It's ideal for small quantities, highly energy-efficient for short bursts, and remarkably effective at preserving the herb's vibrant green color and fresh flavor profile. It minimizes the time the herbs are exposed to heat, locking in those essential oils that give parsley its distinctive taste.
For home cooks looking for a quick, hassle-free way to save their fresh parsley from spoilage, learning
Why Microwave Drying Is the Fastest Way to Preserve Parsley is a game-changer. It's a method that fits seamlessly into a busy kitchen schedule, offering maximum impact for minimal effort.
Prepping Your Parsley for Microwave Magic: The Essentials
Success in drying parsley in the microwave begins long before the plate enters the appliance. Proper selection and preparation are crucial for achieving the best results in terms of flavor and preservation.
Choosing and Harvesting Your Parsley
If you're lucky enough to grow your own parsley, timing your harvest is key. The best time to pick parsley is in the morning, after the dew has evaporated but before the intense heat of midday, when essential oils are at their peak. Choose a dry, sunny day. Using clean, sharp scissors or kitchen shears, snip the outer stems about an inch above the ground. This encourages new growth and keeps your plant healthy.
When selecting parsley, whether from your garden or the grocery store, you'll typically find two main varieties:
*
Curly Leaf Parsley: Known for its ruffled appearance, often used as a garnish.
*
Flat-Leaf Parsley (Italian Parsley): Praised for its robust flavor and smoother texture. Many culinary experts prefer flat-leaf parsley for drying due to its higher concentration of essential oils, which contribute to a more intense flavor when dried.
Regardless of the type, inspect your parsley carefully. Remove any yellowed, wilted, or damaged leaves, as these won't dry well and can compromise the quality of the entire batch. You want only the freshest, most vibrant green sprigs for optimal results.
Cleaning and Drying Before the Microwave
This step is absolutely critical. Even if your parsley looks clean, it’s essential to thoroughly wash it to remove any dirt, debris, pesticides, or tiny insects.
1.
Rinse Thoroughly: Gently rinse the parsley under cold running water. You can also swish it in a bowl of cold water, then lift it out, leaving any grit behind. Repeat if necessary.
2.
Shake Off Excess Water: Give the parsley a gentle shake to remove the bulk of the water droplets.
3.
Pat Dry Meticulously: This is arguably the most important pre-drying step. Lay the parsley on several layers of clean paper towels or a lint-free kitchen towel. Gently pat it completely dry. Any residual moisture will cause the parsley to steam rather than dry in the microwave, leading to a less vibrant color and potentially an off-flavor. You want the leaves to be as dry as possible to the touch before microwaving.
Step-by-Step Guide: How to Dry Parsley in the Microwave
Now that your parsley is pristine and perfectly prepped, it's time for the main event. Learning
how to dry parsley in the microwave is incredibly straightforward, but attention to detail ensures superior results.
Gather Your Tools
Before you begin, ensure you have the following on hand:
*
Microwave: Any standard kitchen microwave will work. Keep in mind that microwave wattage varies (e.g., 700W to 1200W), which will directly impact the drying time. A higher wattage microwave will dry the herbs faster.
*
Microwave-Safe Plate: A ceramic or glass plate is ideal.
*
Paper Towels: Absorbent kitchen paper towels are crucial for both drying the washed parsley and absorbing moisture during microwaving.
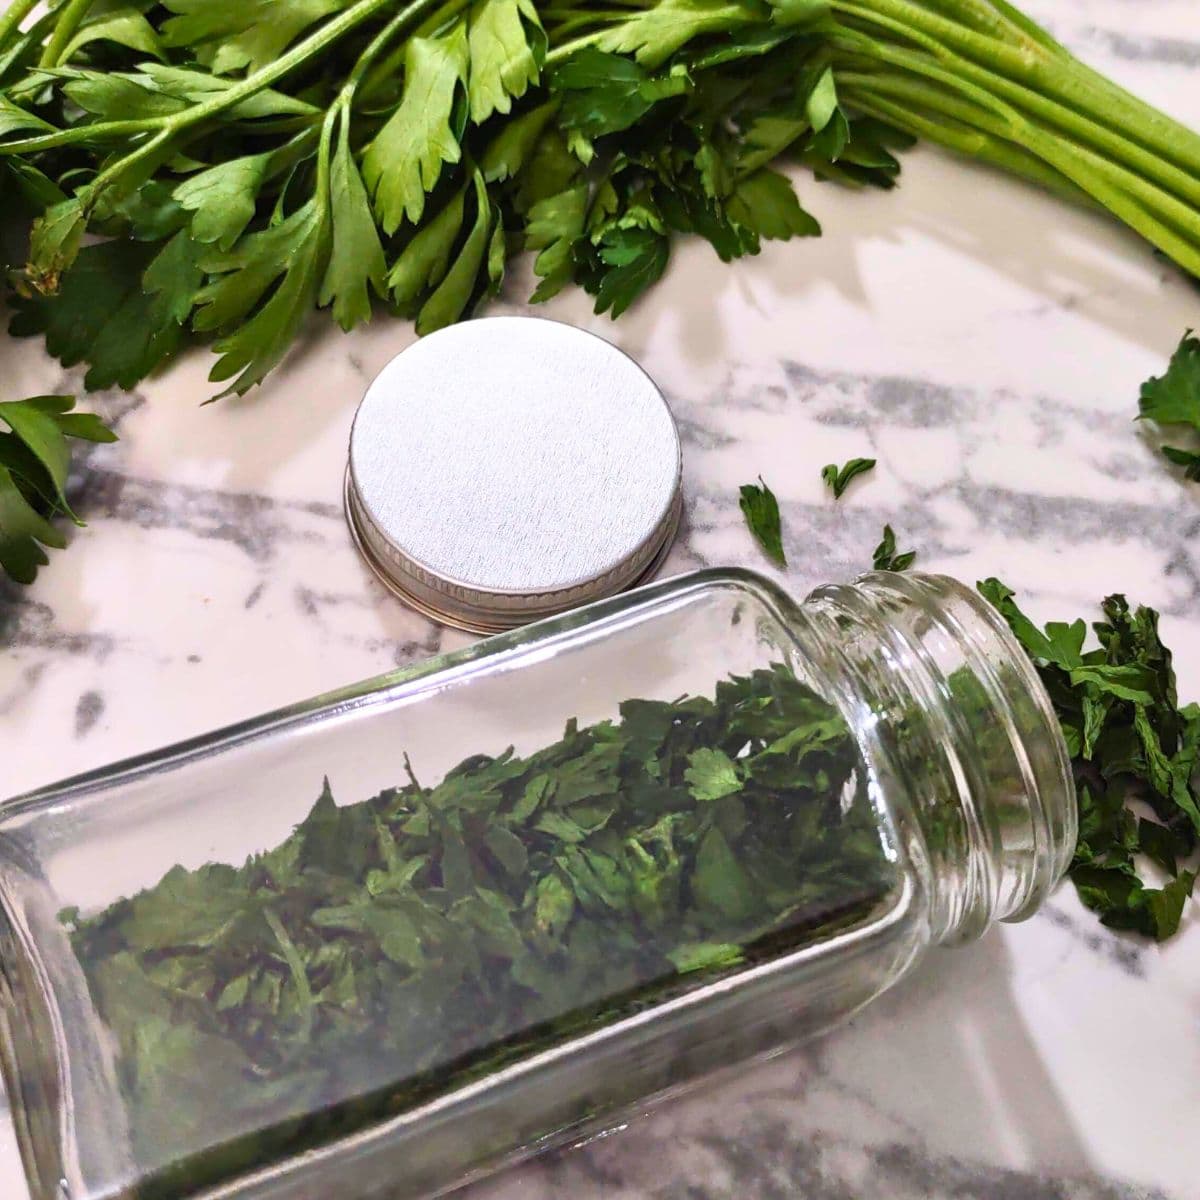
*
Airtight Storage Container: Glass jars or small airtight plastic containers are perfect for storing your dried herbs.
The Drying Process
1.
Line the Plate: Place a double layer of paper towels on your microwave-safe plate. This acts as an absorbent layer, drawing moisture away from the parsley as it dries.
2.
Arrange the Parsley: Spread the clean, thoroughly dried parsley leaves in a single layer on the paper towels. Avoid overlapping the leaves; ensure there's good air circulation around each piece for even drying. If you have a large batch, dry it in smaller quantities.
3.
First Microwave Burst: Place the plate in the microwave. Microwave the parsley on
full power for 60 seconds.
4.
Check and Continue: After the first minute, open the microwave and carefully feel the parsley. It likely won't be fully dry yet. Turn or redistribute the leaves if necessary. Continue microwaving in
30-second increments, checking after each interval.
5.
Monitor Closely: This is crucial. The drying process speeds up towards the end, and going from perfectly dry to burnt can happen in a matter of seconds. Stay near the microwave and observe. The total time will vary depending on your microwave's wattage, the amount of parsley, and its moisture content, but it typically ranges from 2 to 4 minutes.
6.
Safety Note: While drying herbs in the microwave is generally safe, it's paramount not to leave the herbs unattended. In rare cases, if over-dried, the stems or leaves could potentially scorch or even catch fire. Always be present and vigilant.
Recognizing Perfectly Dried Parsley
You'll know your parsley is perfectly dried when it exhibits these characteristics:
*
Visual Cues: The leaves will be crisp and retain a vibrant green color, not brownish or dull.
*
Tactile Cues: When touched, the leaves will feel brittle and easily crumble between your fingers. The stems, if present, should snap rather than bend.
*
Aromatic Cues: It should still have a distinct, fresh parsley scent, though perhaps slightly more concentrated than fresh.
Allow the dried parsley to cool completely on the plate before handling or storing. This helps prevent condensation inside the storage container.
Storing Your Homemade Dried Parsley and Creative Uses
Once your parsley is beautifully dried and cooled, the final steps involve proper storage to maintain its potency and imagination to incorporate its fantastic flavor into your cooking.
Proper Storage for Maximum Freshness
Storing your homemade dried parsley correctly is vital for extending its shelf life and preserving its flavor.
1.
Crumble or Grind: You can gently crumble the dried leaves with your fingers, crush them using a mortar and pestle, or even use a clean spice grinder for a finer texture. Some prefer to leave the leaves whole and crumble them just before use for maximum flavor retention.
2.
Airtight is Key: Transfer the crumbled or whole dried parsley into an airtight container. Small glass jars with tight-fitting lids are ideal, as they protect against air and moisture. You can also use resealable plastic bags, ensuring all excess air is squeezed out.
3.
Cool, Dark Place: Store the container in a cool, dark pantry or cupboard, away from direct sunlight, heat sources (like the stove), and humidity. Light and heat are the enemies of dried herbs, degrading their flavor and color over time.
4.
Shelf Life: Properly stored, microwave-dried parsley can last up to 6 months. However, for peak flavor and aroma, it's best to use it within 3-4 months. After this, it won't spoil, but its potency may diminish. Labeling your containers with the drying date is a great habit!
Culinary Applications: Beyond Garnish
Dried parsley is incredibly versatile and can be used in almost any dish where fresh parsley is called for, though you'll generally use less dried than fresh due to its concentrated flavor. As a general rule, use about one-third the amount of dried herbs compared to fresh.
*
Seasoning Meats: Rub it onto chicken, beef, or lamb before roasting or grilling.
*
Soups and Stews: Add a generous sprinkle to simmering broths, hearty stews, and chili for an aromatic boost.
*
Roasted Vegetables: Toss with olive oil and your favorite vegetables before roasting for an instant flavor uplift. It's particularly good with potatoes, carrots, and zucchini.
*
Dressings and Marinades: Incorporate into vinaigrettes, salad dressings, or marinades for a fresh, herbaceous note.
*
Herbed Butters: Mix with softened butter, garlic, and a pinch of salt for a delightful spread or to melt over cooked dishes.
*
Baked Goods: Savory scones, bread, or crackers can benefit from a touch of dried parsley.
*
Egg Dishes: A sprinkle over scrambled eggs, omelets, or frittatas adds color and flavor.
Having a steady supply of homemade dried parsley means you'll always have this fantastic herb on hand, ready to elevate your culinary creations. It's a simple, effective way to
Stop Waste: Easily Dry Parsley With Your Microwave for Lasting Herbs and infuse your cooking with fresh, vibrant taste.
Conclusion
Drying parsley in the microwave is not just a clever kitchen hack; it's an empowering technique that transforms how you manage fresh herbs. This method elegantly solves the problem of perishable produce, turning potential waste into a valuable pantry staple in mere minutes. By following these simple steps – from careful selection and thorough cleaning to precise microwaving and proper storage – you can consistently produce high-quality dried parsley that retains its vibrant color and robust flavor. Embrace the magic of your microwave and unlock a world of year-round freshness for your culinary adventures, proving that sometimes, the quickest path to flavor is also the smartest.