The Secret to Year-Round Freshness: Embrace Microwave Drying for Parsley Preservation
There's nothing quite like the vibrant burst of fresh parsley to elevate a dish. Whether it’s the delicate lilt of curly leaf or the robust, peppery notes of flat-leaf, parsley is a culinary staple that brightens everything from hearty stews to light salads. But for home cooks and garden enthusiasts alike, the fleeting lifespan of fresh herbs can be a source of frustration. How many times have you bought a bunch only to watch it wilt into oblivion before you could use it all?
Don't let that precious parsley go to waste! The solution lies in preservation, and when it comes to speed, efficiency, and retaining flavor, one method stands head and shoulders above the rest: microwave drying. This article will guide you through the fastest and easiest way to preserve your parsley, ensuring you have a steady supply of this flavorful herb whenever inspiration strikes. You'll discover not only *how to dry parsley in the microwave* but also why it’s the superior choice for preserving its color and essential oils.
The Urgent Need for Herb Preservation: Why Fresh Parsley Doesn't Last
Fresh parsley, while undeniably delicious, is notoriously perishable. Its delicate leaves are prone to wilting, yellowing, and spoilage within days, even when stored carefully. This short shelf-life often leads to food waste, undermining the joy of growing your own herbs or the value of your grocery budget. The beauty of dried parsley, however, is its incredible versatility and longevity. It becomes your culinary secret weapon, ready to season, garnish, and flavor without the immediate pressure of spoilage. From enriching chicken and beef broths to being a convenient dash in your weeknight meals, dried parsley ensures that vibrant, herbaceous flavor is always within reach. Learning to dry your own herbs not only combats waste but also provides a cost-effective alternative to pre-packaged dried herbs, which can sometimes lack the potency and vibrancy of homemade versions. For more insights on preventing waste, check out
Stop Waste: Easily Dry Parsley With Your Microwave for Lasting Herbs.
Traditional Drying Methods vs. Microwave: A Speed Comparison
While various methods exist for drying herbs, they differ significantly in terms of time, effort, and results. Understanding these differences highlights why the microwave reigns supreme for quick preservation.
Air Drying: The Slow but Natural Approach
Air drying is the traditional, age-old method. Herbs are bundled and hung in a warm, dry, and well-ventilated area, or spread on screens.
- Pros: Requires no special equipment, very natural.
- Cons: Takes a significant amount of time – often 2 days or even longer, depending on humidity and quantity. It can be susceptible to dust, insects, and inconsistent drying, which may lead to mold if not monitored carefully. Color and flavor can also degrade over this extended period.
Dehydrator Drying: Consistent, But Time-Consuming
A food dehydrator is a dedicated appliance that uses controlled heat and airflow to remove moisture.
- Pros: Provides consistent drying conditions, often yielding good results.
- Cons: Requires an initial investment in equipment and can take up to 4 hours for herbs like parsley. It also takes up valuable counter or storage space.
Oven Drying: Energy-Intensive and Uneven
Using a conventional oven involves setting it to its lowest temperature, often with the door slightly ajar, to slowly dry the herbs.
- Pros: Utilizes existing kitchen equipment.
- Cons: Takes a good few hours (often 2-4 hours), making it quite energy-inefficient. The heat distribution can be uneven, requiring constant rotation and increasing the risk of scorching or burning delicate herbs.
Microwave Drying: The Unbeatable Champion of Speed
This is where the microwave truly shines. Utilizing controlled bursts of electromagnetic radiation, it rapidly removes moisture from herbs, making it the undeniable fastest method.
- Pros: Incredibly fast – we’re talking minutes, not hours or days. It excels at preserving the vibrant green color and delicate flavor of parsley better than slower methods, as the quick drying minimizes exposure to factors that degrade quality. It’s highly energy-efficient for small batches and requires no specialized equipment beyond what's likely already in your kitchen.
- Cons: Requires careful monitoring to prevent burning due to its speed.
When your goal is to transform fresh parsley into perfectly preserved, flavor-packed dried herbs in the shortest possible time, learning *how to dry parsley in the microwave* is not just a convenience, it’s a game-changer. For a deeper dive into this rapid technique, explore
Microwave Magic: Dry Parsley in Minutes for Fresh Flavor.
Your Step-by-Step Guide: How to Dry Parsley in the Microwave
Ready to turn your fresh parsley into a long-lasting pantry staple? Here's how to master the microwave drying method.
Essential Tools and Preparations
Before you begin, gather your essentials:
- Microwave: Any standard kitchen microwave will work, though wattage will affect drying time. (A 900-watt microwave is used for typical timing in many tutorials).
- Microwave-Safe Plate: A ceramic or glass plate is ideal.
- Paper Towels: Several sheets will be needed to absorb moisture.
- Airtight Storage Container or Bag: For storing your dried parsley.
- Optional: Sharp Scissors or Kitchen Shears: If harvesting your own parsley.
Choosing and Preparing Your Parsley:
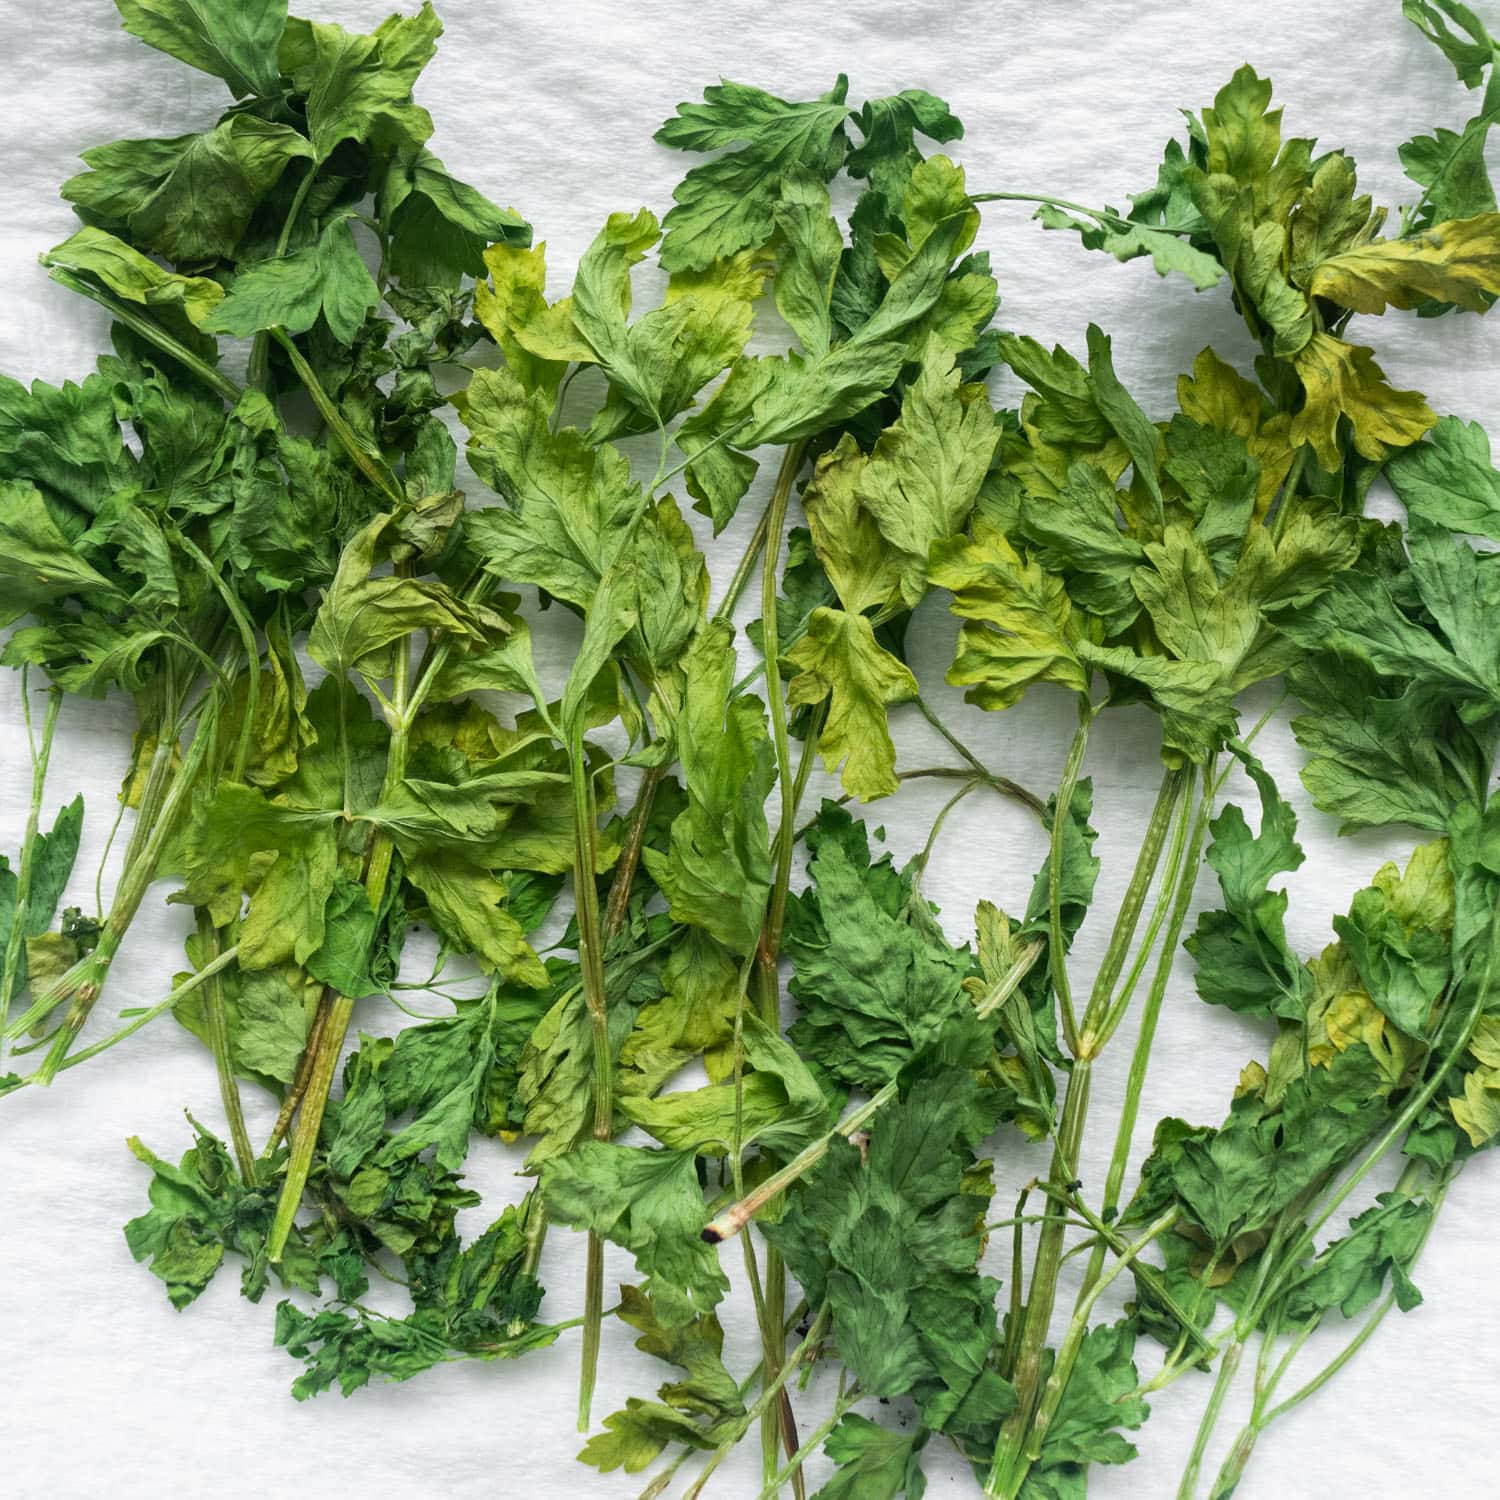
For the best results, start with fresh, healthy parsley. Flat-leaf parsley is often preferred for drying due to its slightly higher essential oil content, which translates to more concentrated flavor. If harvesting from your garden, choose a dry, sunny morning. Cut stems about an inch above the ground using clean shears.
Once harvested or purchased, thoroughly rinse your parsley under cold running water to remove any dirt, debris, or insects. This step is crucial! After rinsing, gently shake off excess water and then
pat the parsley extremely dry with a clean kitchen towel or paper towels. You want it as dry as possible before microwaving to prevent steaming, which can cook rather than dry the herbs. At this stage, remove any yellow, wilted, or damaged leaves.
The Microwave Drying Process: Precision and Patience
This is where the magic happens, quickly!
- Line the Plate: Place a double layer of paper towels on your microwave-safe plate. This will absorb the moisture released from the parsley.
- Spread the Parsley: Arrange the clean, dry parsley leaves in a single layer on top of the paper towels. Do not overcrowd the plate; this ensures even drying. If you have a large batch, dry it in smaller quantities.
- Initial Microwave Burst: Place the plate in the microwave. Set your microwave to full power and microwave the parsley for an initial burst of 60 seconds.
- Check and Continue: After 60 seconds, open the microwave and carefully check the parsley. It likely won't be fully dry yet. Gently flip the leaves and continue microwaving in 30-second increments.
- Monitor Closely: This is the most critical part. Between each 30-second burst, check the parsley. You'll know the parsley is completely dry when it becomes brittle, crumbles easily between your fingers, and its stems snap rather than bend. The total drying time can range from 1.5 to 4 minutes, depending on your microwave's wattage and the parsley's moisture content.
- Safety Note: Never leave the microwave unattended during this process. Over-drying, especially with the delicate stems, can lead to scorching or even fire. Stay vigilant!
Post-Drying and Storage for Lasting Freshness
Once your parsley is perfectly dry:
- Cool Completely: Remove the plate from the microwave and let the dried parsley cool down completely. This allows any residual moisture to escape and helps it become even crisper.
- Crumble and Store: Once cool, gently crumble the dried leaves off the stems. You can crush them finely or leave them in larger flakes, according to your preference. Discard the stems.
- Airtight Storage: Transfer your homemade dried parsley to an airtight container or a small freezer bag. Store it in a cool, dark place, away from direct sunlight and humidity. Properly stored, microwave-dried parsley can retain its flavor and vibrant color for up to 6 months, sometimes even longer.
Maximizing Flavor and Longevity: Tips for Perfect Microwave-Dried Parsley
Achieving perfectly dried parsley isn't just about following steps; it's about understanding the nuances that enhance flavor and longevity.
- Optimal Harvesting: If growing your own, harvest parsley in the morning after the dew has dried but before the sun is too strong. This is when essential oil content (and thus flavor) is highest.
- Thorough Cleaning, Meticulous Drying: Rinse herbs well, but then take the time to pat them *exceptionally* dry with paper towels. Any excess surface moisture will steam rather than dry, compromising the crispness.
- Single Layer is Key: Overlapping parsley leaves on the plate will result in uneven drying, with some parts scorching while others remain damp. Always work in small, single-layer batches.
- Know Your Microwave: Wattage varies. A lower wattage microwave will take longer. Always start with shorter bursts (60 seconds, then 30-second increments) and adjust based on your appliance's power.
- Stay Attentive: Because the process is so fast, it's crucial not to walk away. Parsley can go from perfectly dry to scorched in mere seconds. The goal is brittle and crumbly, not burnt and blackened.
- Cool Down Period: Don't rush storage. Allowing the dried parsley to cool completely on the plate helps remove any final traces of warmth and moisture, ensuring it stays crisp.
- Ideal Storage Conditions: Beyond airtight, a cool, dark pantry or cupboard is essential. Light and heat are enemies of dried herbs, degrading both color and flavor over time.
- Versatile Uses: Dried parsley is perfect for seasoning cooked dishes like soups, stews, casseroles, marinades, and rubs. Add it towards the end of cooking for maximum flavor impact. While fresh parsley is often preferred for garnishes due to its texture, dried parsley can still add visual appeal and flavor.
Conclusion
Preserving your fresh parsley doesn't have to be a time-consuming chore. By mastering the microwave drying method, you unlock the fastest, most efficient, and surprisingly effective way to ensure a continuous supply of this beloved herb. In just a matter of minutes, you can transform delicate fresh leaves into intensely flavored, long-lasting dried parsley, ready to enhance your culinary creations for months to come. Say goodbye to wasted herbs and hello to a pantry stocked with vibrant, homegrown flavor, all thanks to the simple power of your microwave.