Are you tired of watching your beautiful fresh parsley go limp and eventually into the compost bin? It’s a common frustration for home cooks and gardeners alike. Parsley, with its vibrant green hue and unmistakable fresh flavor, is a culinary staple, yet its shelf life can feel frustratingly short. But what if there was a simple, lightning-fast method to preserve that freshness, ensuring you have a steady supply of this versatile herb whenever you need it?
Enter the humble microwave. While often associated with reheating leftovers, your microwave is a surprisingly powerful tool for dehydrating herbs quickly and efficiently. This article will walk you through precisely how to dry parsley in the microwave, turning potential waste into a treasure trove of lasting flavor. Say goodbye to food waste and hello to homegrown seasoning that's ready at a moment's notice.
Why Microwave Drying is a Game-Changer for Herbs
When it comes to preserving herbs, you have several options. Traditional methods like air-drying can take days, often leaving herbs susceptible to dust or inconsistent drying. Dehydrators offer control but can monopolize your counter for up to four hours, while oven drying, though faster than air-drying, still consumes considerable energy and can take several hours, often diminishing the herb's vibrant color and delicate essential oils through prolonged heat exposure. For a deeper dive into the unparalleled speed of this method, you might find Why Microwave Drying Is the Fastest Way to Preserve Parsley incredibly insightful.
The microwave method stands out as the ultimate solution for speed and convenience, especially when dealing with smaller quantities of leftover fresh parsley. In just a few minutes, you can transform fresh sprigs into perfectly dried, crumbly herbs that retain their vivid green color and robust flavor. This rapid process minimizes exposure to heat and air, locking in those precious aromatic compounds that make parsley so special. It's an energy-efficient choice for small batches and an excellent way to prevent those precious garden harvests or grocery store finds from going to waste.
Selecting and Preparing Your Parsley for Optimal Drying
The success of your dried parsley begins before it even touches the microwave. Choosing the right parsley and preparing it correctly are crucial steps that ensure the best flavor and texture in your preserved herbs.
Choosing the Best Parsley
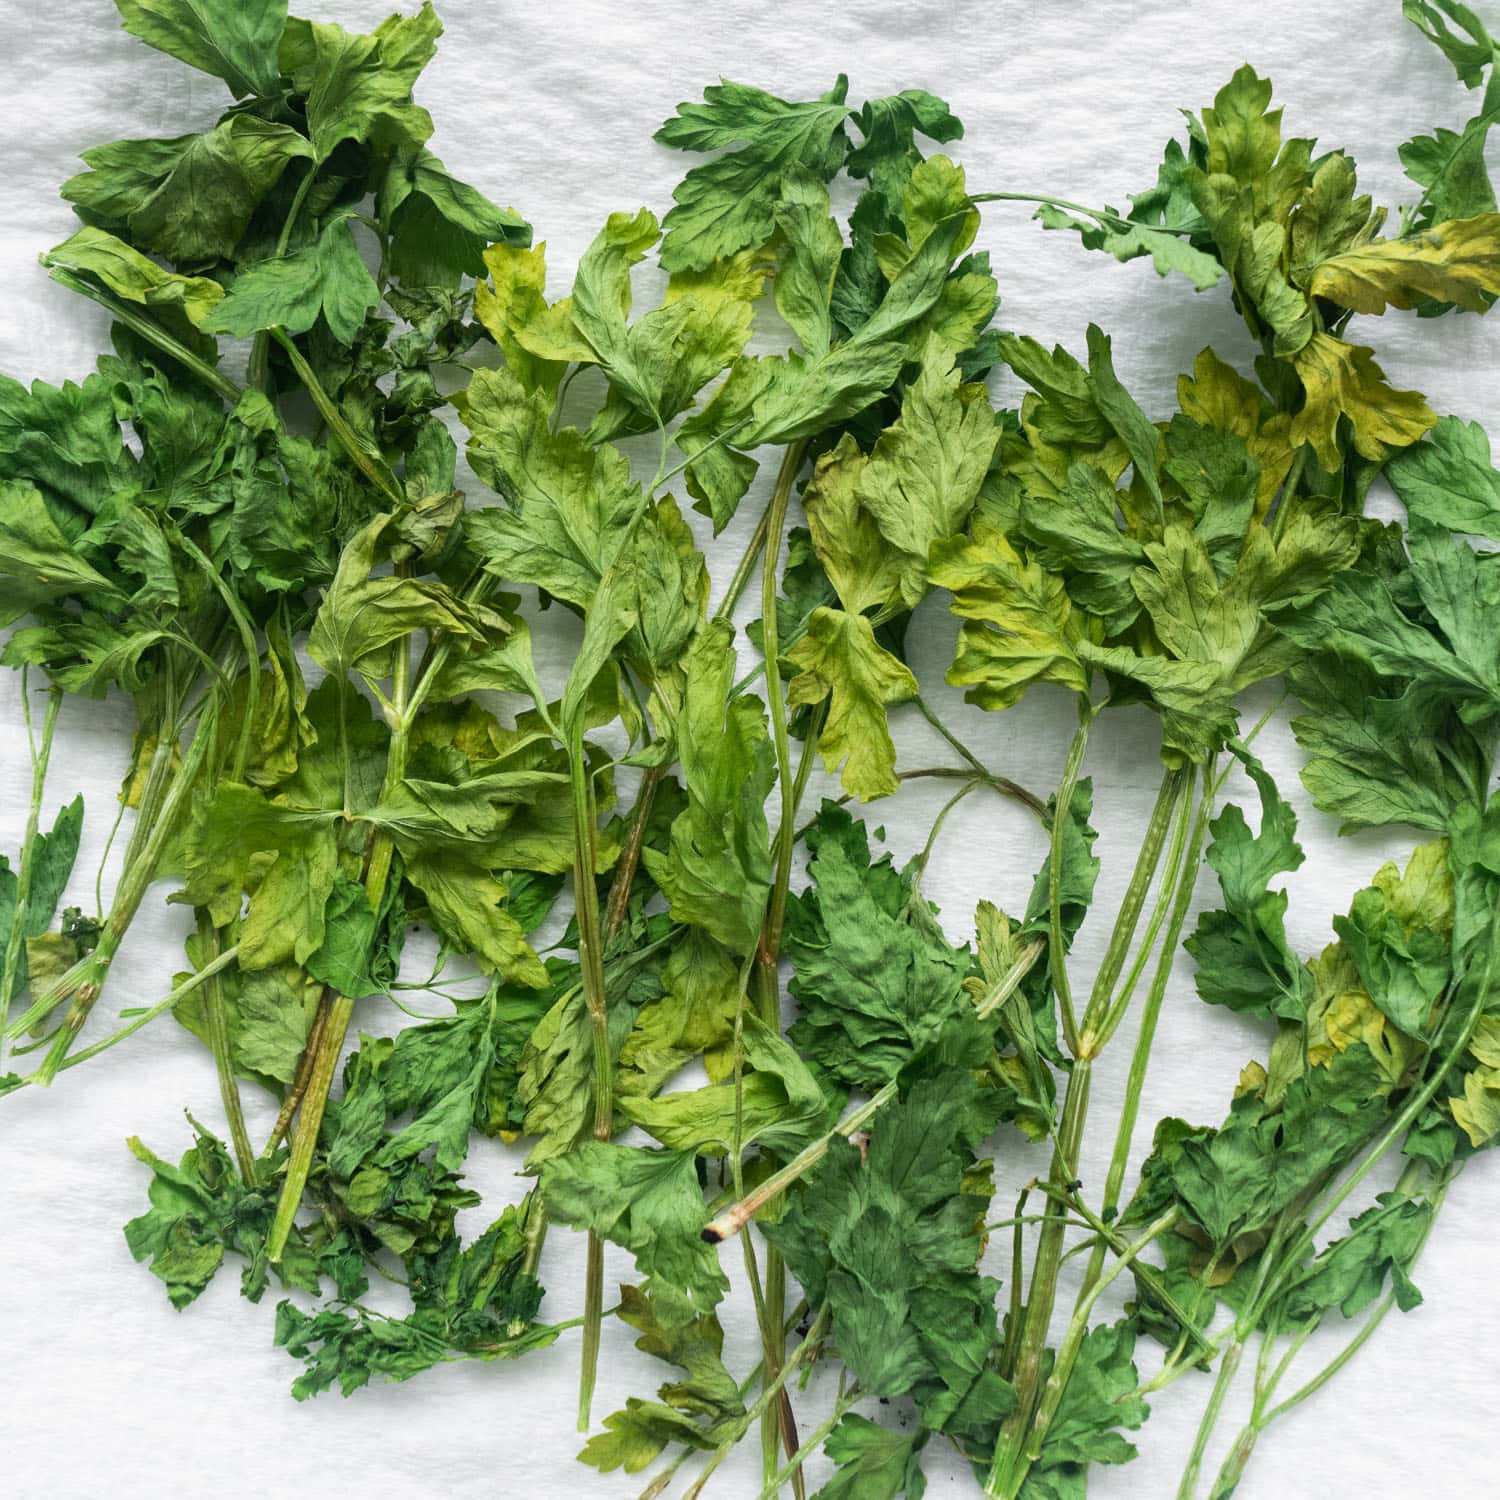
You'll typically encounter two main varieties: curly leaf parsley and flat-leaf (Italian) parsley. While both are delicious, many herb enthusiasts, myself included, prefer flat-leaf parsley for drying. It tends to have a slightly higher essential oil content, which translates to a more potent flavor once dried. Look for fresh, vibrant green bunches without any signs of yellowing, wilting, or damage.
If you're harvesting from your garden, the best time to do so is in the morning after the dew has dried but before the sun gets too intense. This is when the essential oil content is usually at its peak. Use clean, sharp scissors or kitchen shears to cut the stems about an inch above the ground, being careful to select only healthy, undamaged leaves.
Washing and Drying
Once you have your fresh parsley, thorough cleaning is paramount. Rinse the parsley under cool running water to remove any dirt, debris, or tiny hitchhiking insects. Pay close attention to the nooks and crannies of curly parsley, which can sometimes trap more foreign matter.
After rinsing, the most critical step before microwaving is to ensure your parsley is as dry as possible. Excess moisture will cause the parsley to steam rather than dry, resulting in a less-than-ideal texture and potentially affecting its color. Gently shake off as much water as you can, then spread the parsley out on a clean kitchen towel or paper towels and gently pat it dry. You can even let it air dry for 15-30 minutes if you have the time, just to be absolutely certain. Remove any yellowed, wilted, or bruised leaves at this stage, as they won't dry well and can detract from the quality of your batch.
Your Step-by-Step Guide: How to Dry Parsley in the Microwave
Now that your parsley is prepped and ready, it's time to unleash the magic of your microwave. This quick guide on how to dry parsley in the microwave will ensure perfect results every time.
Gather Your Tools
You'll only need a few basic items for this process:
- Fresh parsley (washed and thoroughly dried)
- A microwave-safe plate
- Paper towels (plain, unprinted)
- An airtight storage container or bag
The Drying Process
- Line Your Plate: Place a double layer of paper towels on your microwave-safe plate. The paper towels are crucial as they absorb the moisture released by the parsley during the drying process.
- Arrange the Parsley: Spread your prepared parsley in a single layer on top of the paper towels. Ensure the leaves don't overlap too much, as this can lead to uneven drying. If you have a large batch, work in smaller quantities.
- Initial Microwave Blast: Place the plate in the microwave. Set your microwave to full power and microwave the parsley for 60 seconds. Microwave wattages vary significantly, and this initial time is a starting point. (For reference, a 900-watt microwave works well with this timing).
- Check and Continue: After 60 seconds, carefully open the microwave door. The parsley might look a bit wrinkled but shouldn't be fully dry yet. Gently flip the parsley to expose different sides. Return the plate to the microwave and continue to microwave in 30-second increments.
- Assess for Dryness: After each 30-second increment, check the parsley. You'll know it's perfectly dry when the leaves are brittle and easily crumble between your fingers, and the stems snap rather than bend. Continue microwaving in short bursts until this consistency is achieved. This usually takes a total of 2-4 minutes, depending on your microwave's wattage and the amount of parsley.
- Safety First: IMPORTANT! Never leave herbs unattended in the microwave. Dried herbs, especially their stems, can be flammable if over-microwaved. Stay vigilant and check frequently to prevent burning.
For another perspective on mastering this technique, check out Microwave Magic: Dry Parsley in Minutes for Fresh Flavor.
Storing Your Dried Parsley for Lasting Flavor
Once your parsley is perfectly dry, the journey isn't quite over. Proper storage is key to preserving its flavor and extending its shelf life for many months.
First, allow the dried parsley to cool completely on the plate. This is essential, as storing warm herbs can create condensation within the container, leading to spoilage. Once cool, you can gently crumble the leaves directly into your storage container or, for a finer consistency, rub them between your palms or use a mortar and pestle to create a more uniform flake.
Store your homemade dried parsley in an airtight container – a glass jar with a tight-fitting lid, or even a sealed plastic bag, works well. Keep the container in a cool, dark place, away from direct sunlight, heat, and humidity, which can degrade the herb's quality over time. A pantry or cupboard is ideal. Properly stored, microwave-dried parsley can retain its potency and vibrant color for up to 6 months, and often even longer.
Remember to label your container with the date you dried the parsley. While dried herbs don't "go bad" in the traditional sense, their flavor will gradually diminish over time. If you notice a significant loss of aroma, it's probably time to dry a fresh batch.
Creative Uses for Your Homemade Dried Parsley
Now that you've mastered how to dry parsley in the microwave, what can you do with your aromatic bounty? Dried parsley is incredibly versatile and can be used in almost any recipe that calls for fresh parsley, though you'll generally use about one-third the amount of dried herbs compared to fresh, as the flavor is more concentrated.
- Seasoning: Sprinkle dried parsley into soups, stews, casseroles, and sauces for an instant flavor boost. It's fantastic in chicken broth, beef stew, or a simple pasta sauce.
- Rubs and Marinades: Combine it with other dried herbs and spices to create your own custom rubs for meats or to infuse oils for marinades.
- Baked Goods: Don't limit it to savory dishes! A touch of dried parsley can add depth to savory scones, biscuits, or even homemade bread.
- Garnishes: While it lacks the fresh pop of raw parsley, a sprinkle of dried parsley can still add visual appeal to finished dishes.
- Salad Dressings: Mix into homemade vinaigrettes or creamy dressings for an herbaceous note.
- Herb Blends: Create your own Italian seasoning, herb de Provence, or other custom blends for everyday cooking.
The beauty of having homemade dried parsley on hand is the convenience and the knowledge that you're using a product free from additives, packed with the authentic flavor of your own kitchen or garden.
Conclusion
No longer do you need to watch fresh parsley wither away, nor do you need to rely on store-bought dried versions that often lack vibrant color and intense flavor. Learning how to dry parsley in the microwave is a simple, quick, and highly effective way to preserve this beloved herb, locking in its freshness and extending its usability for months. With just a few minutes and some basic kitchen tools, you can transform excess parsley into a pantry staple, ready to elevate your cooking at a moment's notice. So, embrace this smart, sustainable kitchen hack and enjoy the lasting flavor of your very own dried parsley!
